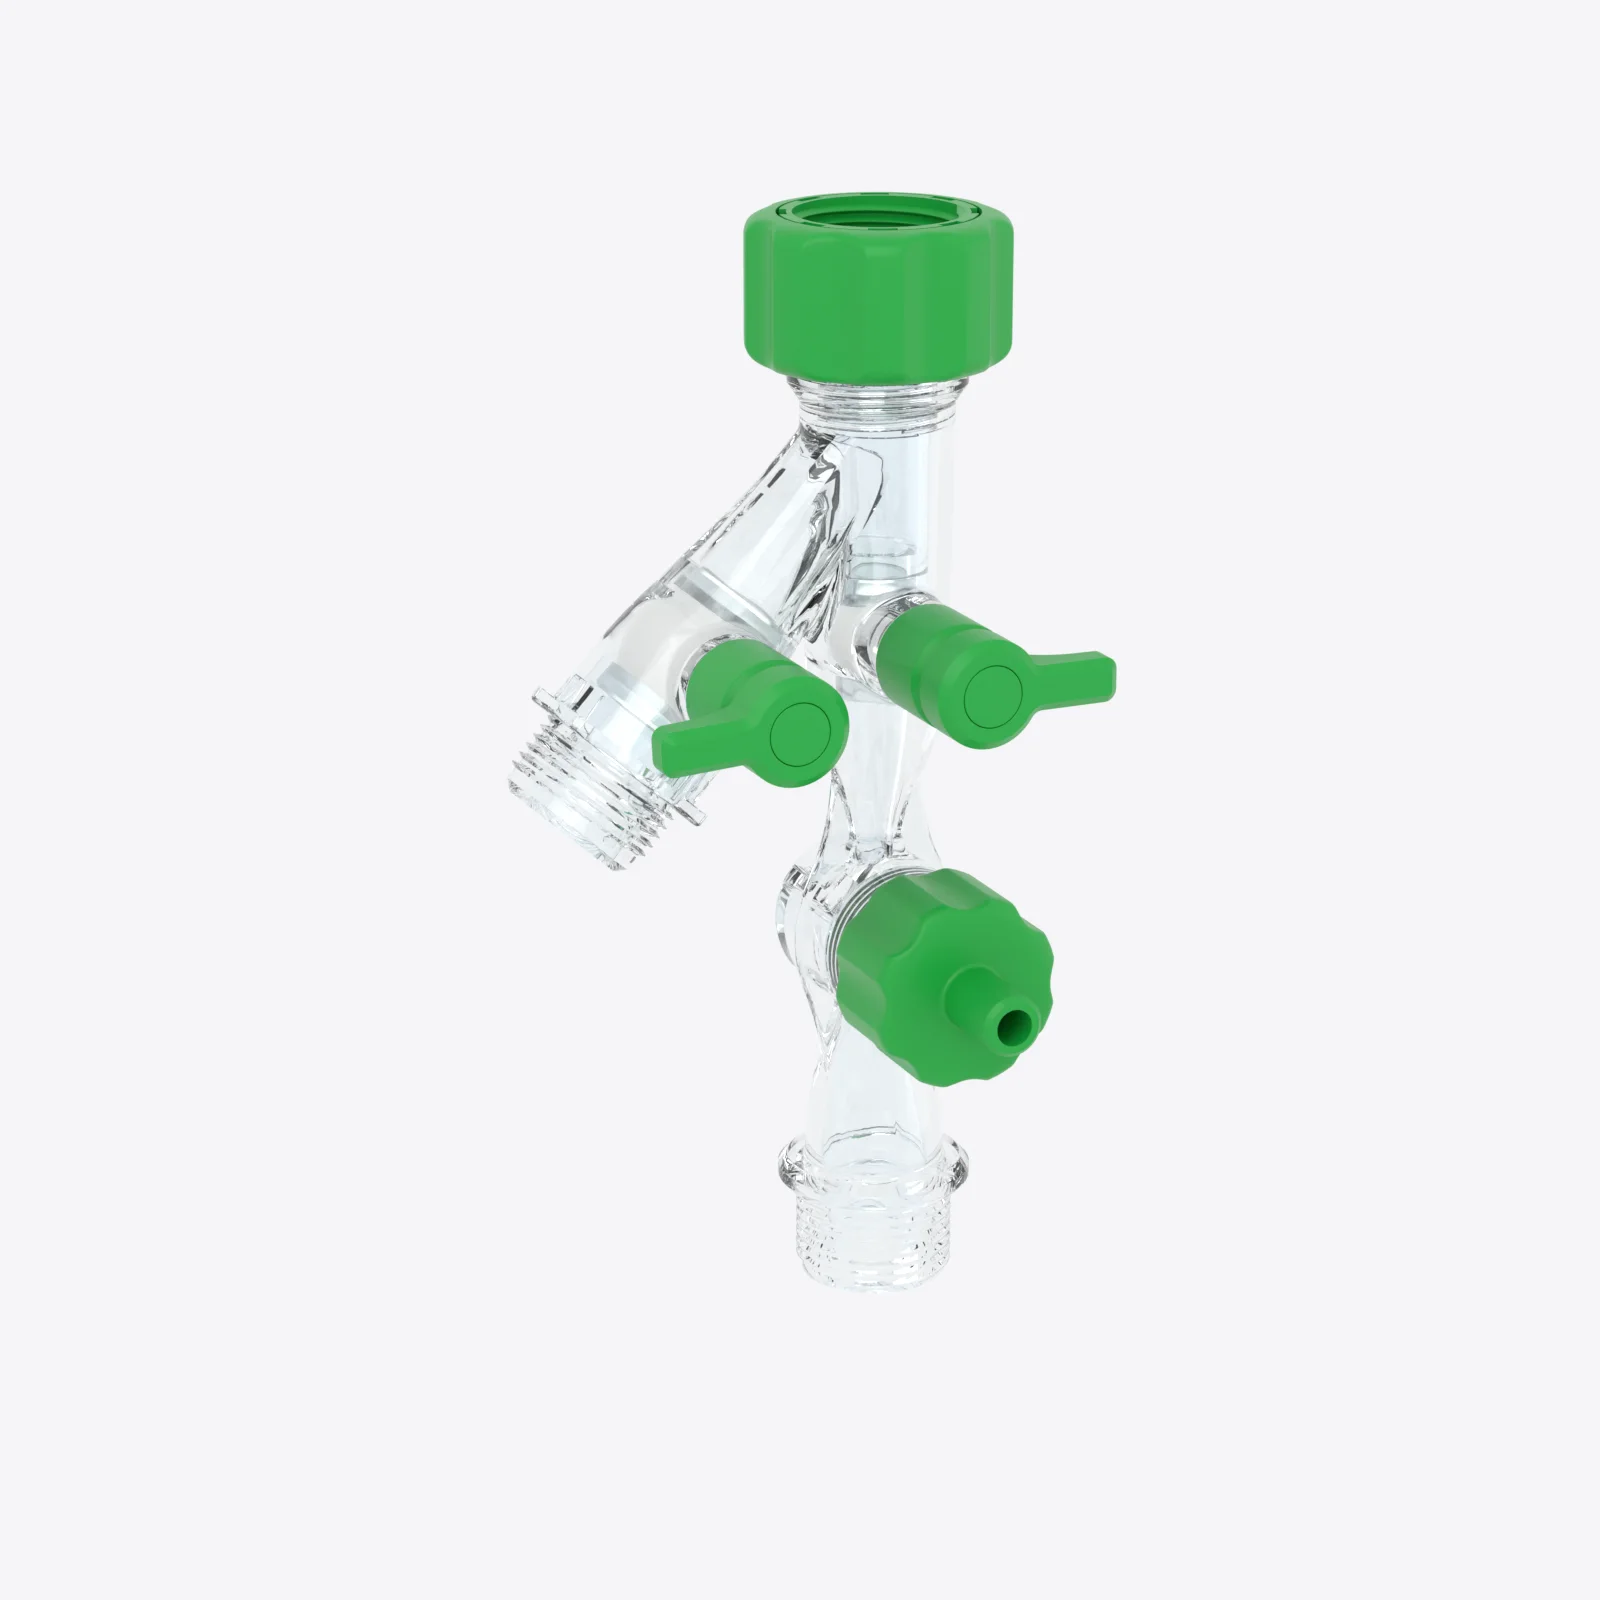



See sediment leave.
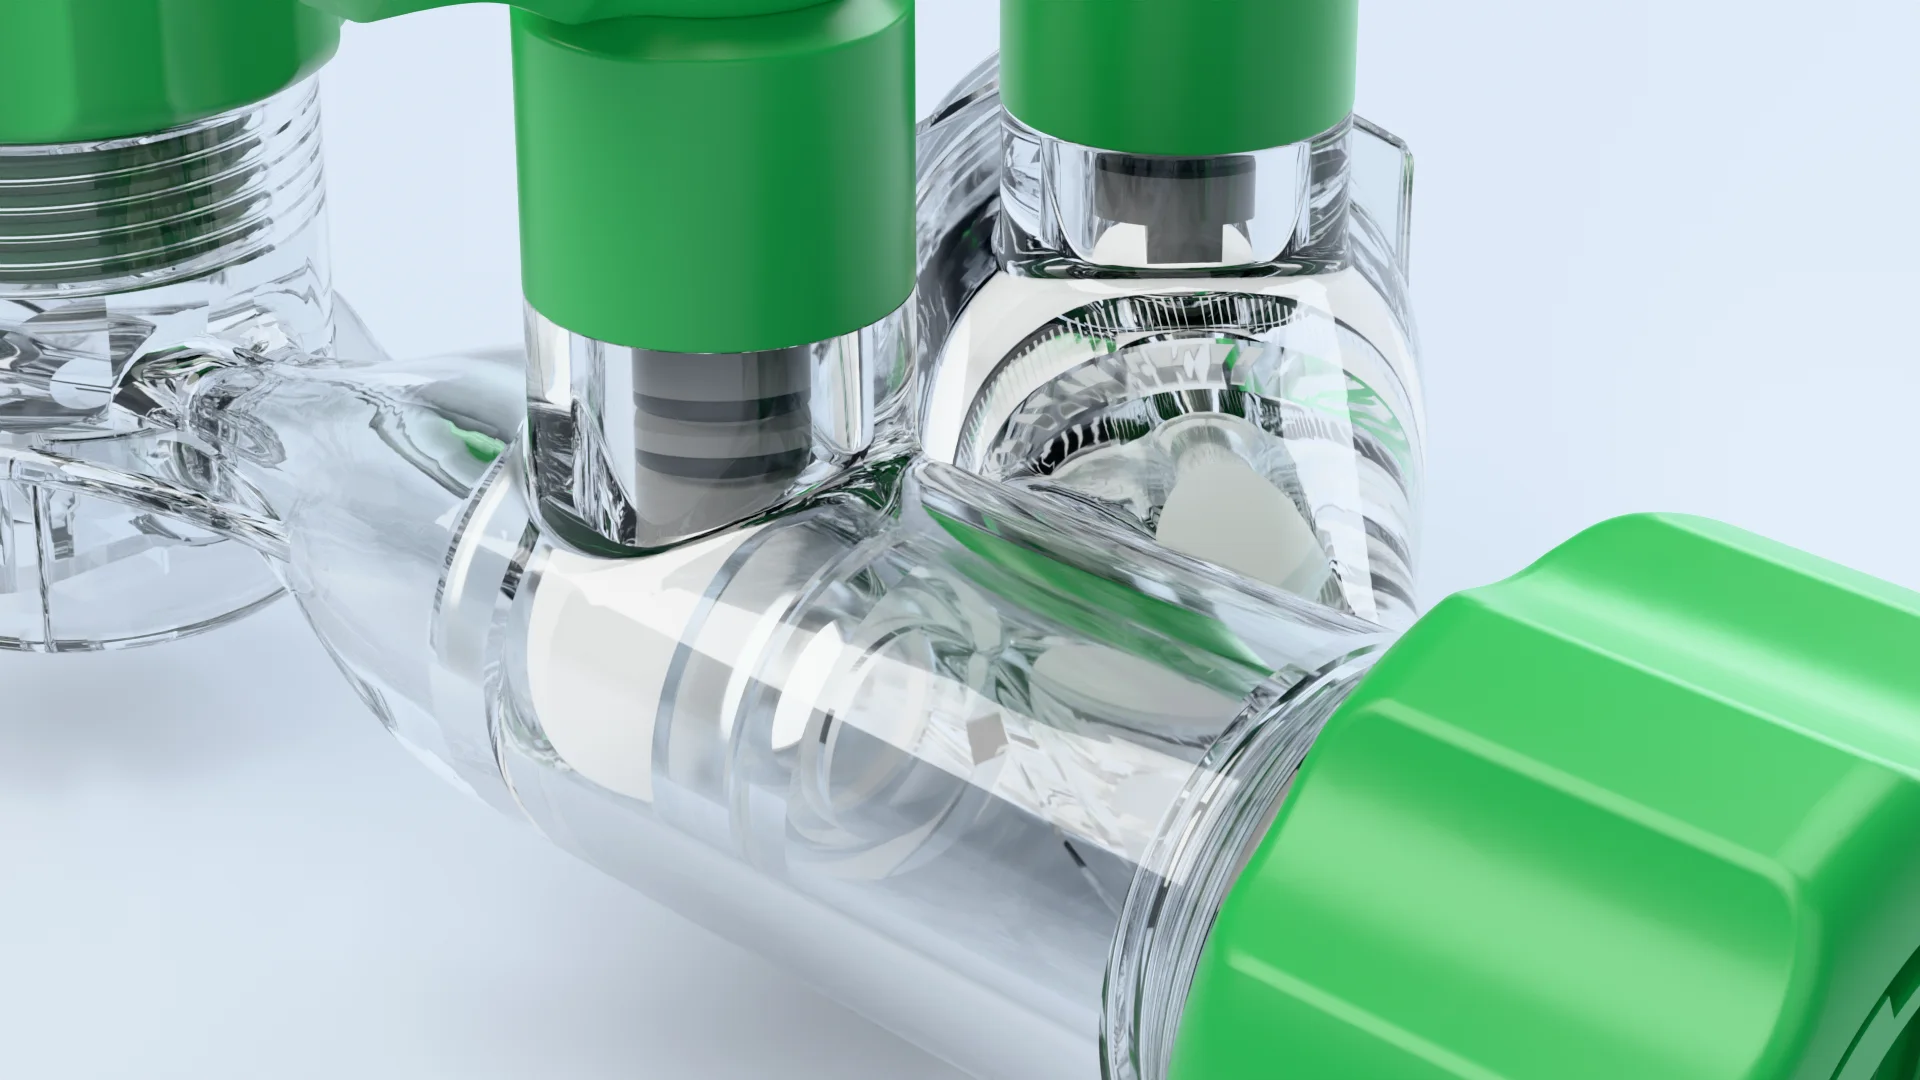
The whole body is transparent, so you can watch the water go from cloudy to clear — and know when you’re done.
Water heater flush kit
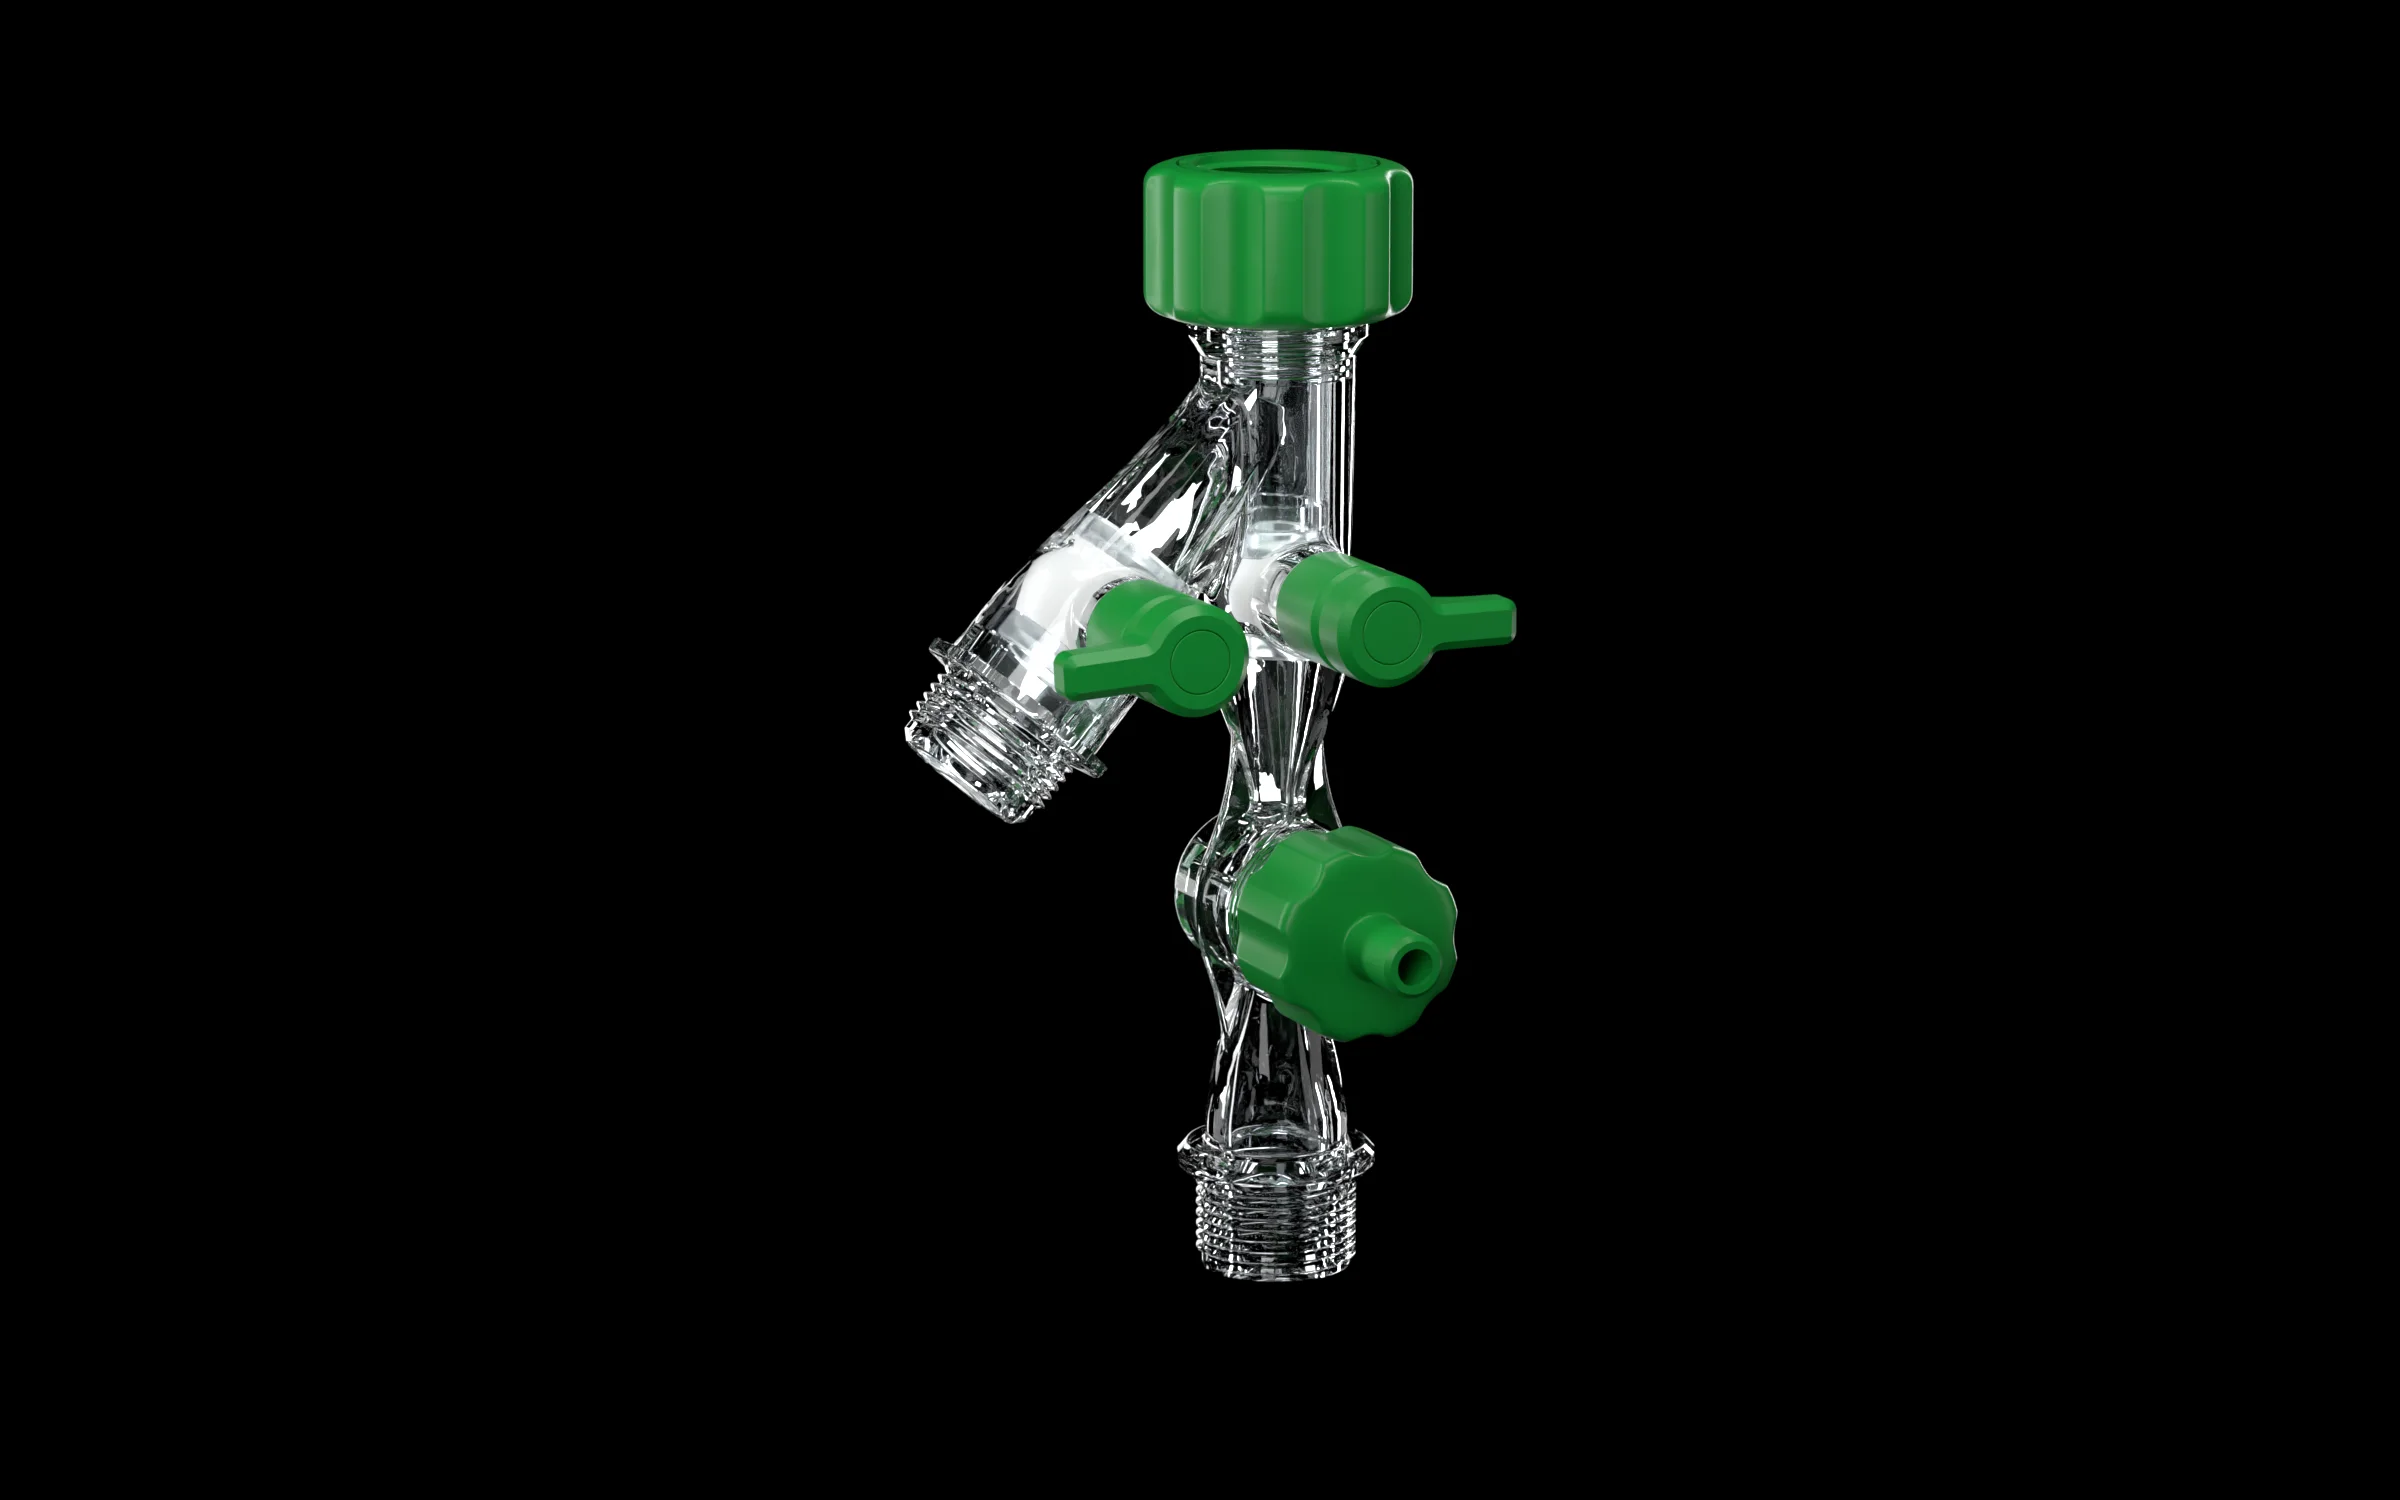
Runs on garden-hose pressure. Draws in its own cleaner. Flushes and drains without unhooking a thing.
Every tank water heater collects sediment. Minerals settle on the bottom, take up space, and make your heater work harder. Flushing it out is routine maintenance.1 Now it’s also the easy part.

Water-powered
Some sediment tools need an air pump or a gas cartridge to stir things up. This one connects to a garden hose and uses the household water pressure you already have.
Built-in venturi
Inside the clear body, water is squeezed through a narrowing cone into a 3 mm nozzle. The faster it moves, the lower the pressure around it — so the side port pulls cleaning solution straight into the stream.
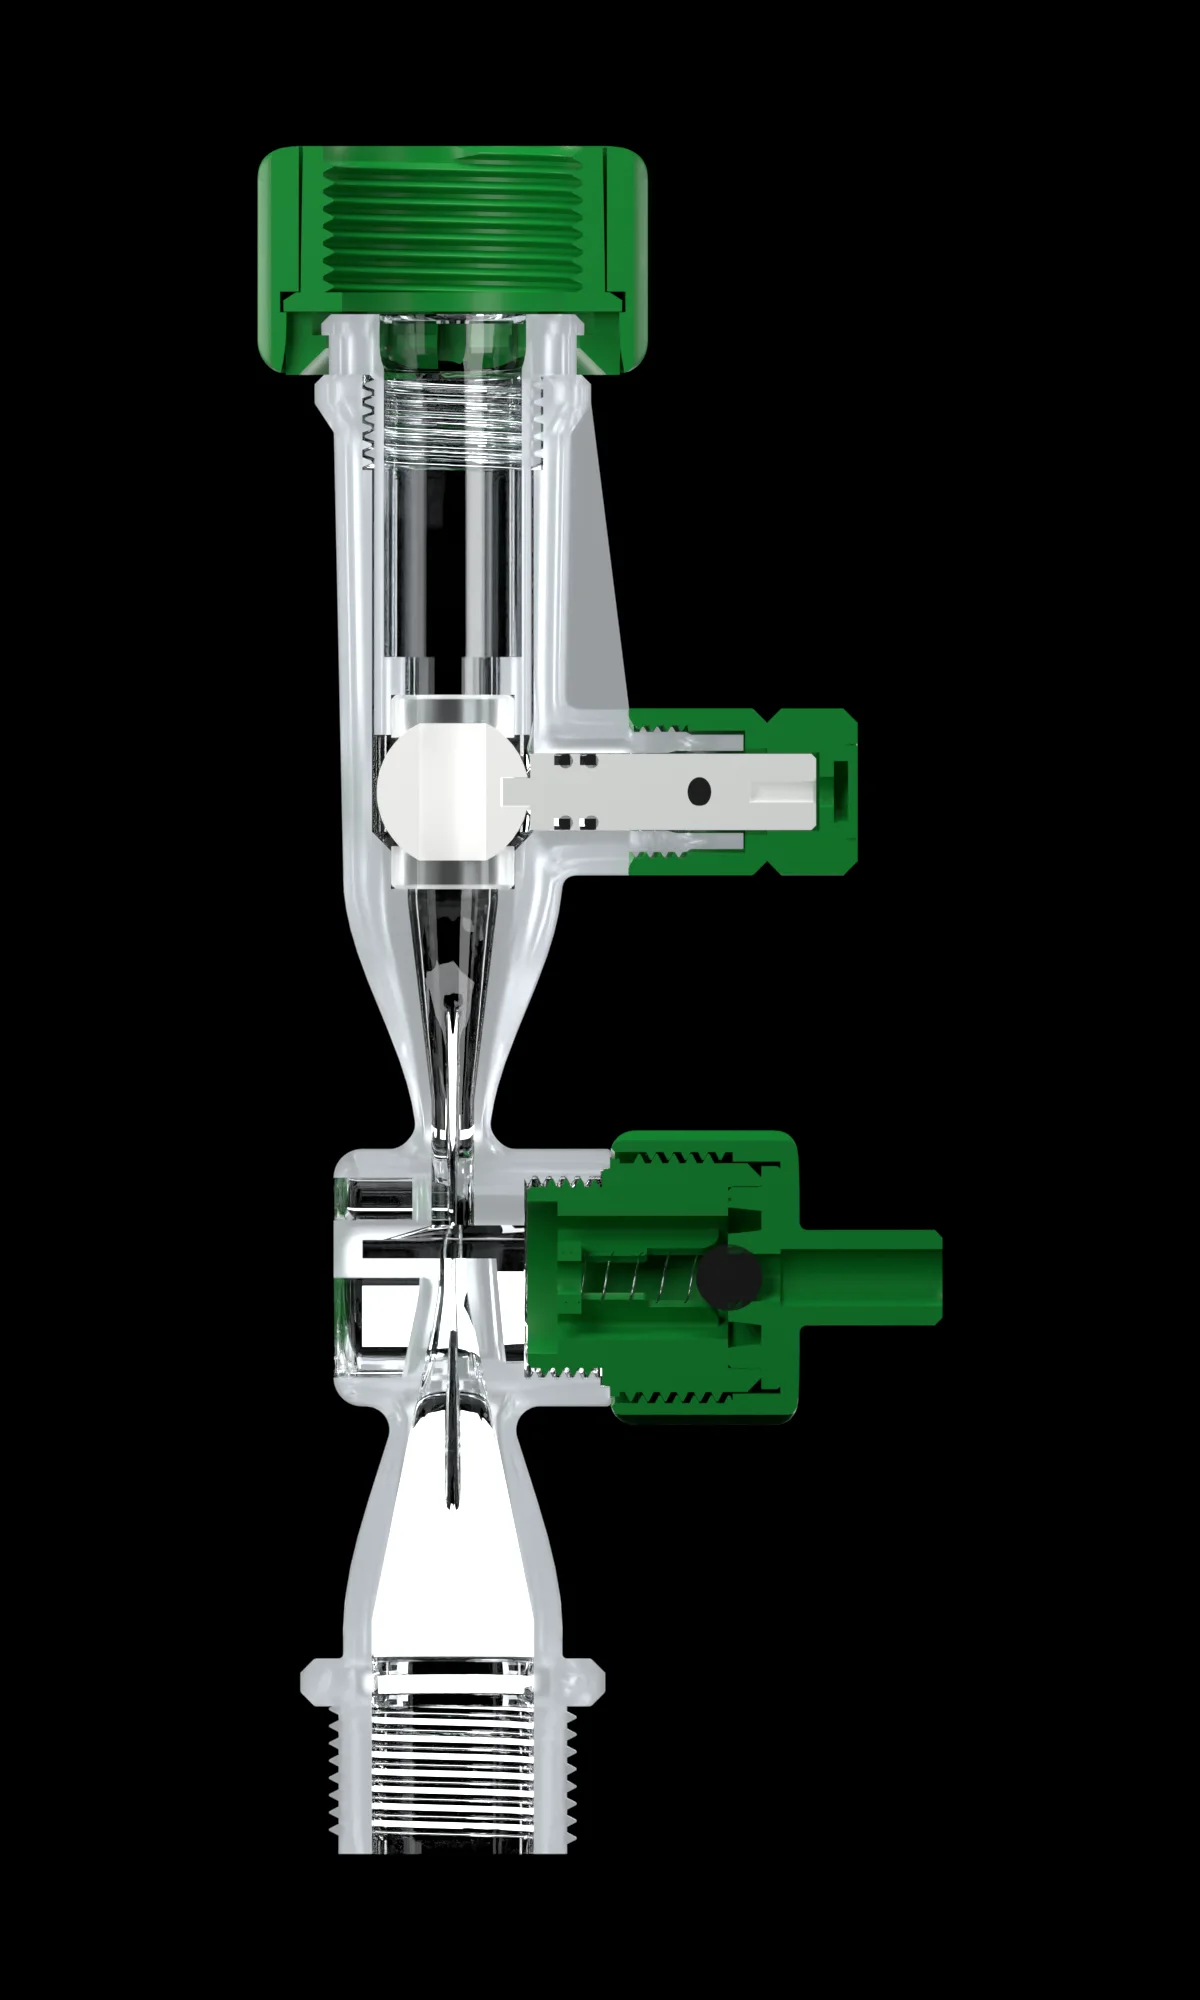
From a 17 mm inlet down to a 3 mm nozzle — about 32 times less area. Same water, far more speed.
That speed creates suction in the chamber around the nozzle. Drop the suction tube into your cleaning solution and it’s pulled in. No pump. No pouring.
A 4.5 mm mixing tube blends cleaner and water, then a diffuser widens the flow on its way into the tank.
A spring-loaded check valve sits inside the suction port, so water can’t push back out of it.
 Illustration
High-velocity backflush
The nozzle turns household water pressure into a fast, concentrated stream that rushes back through the drain valve and stirs up sediment on the bottom of the tank.
Two valves. Zero hose swapping.
Flush valve open, drain valve closed. Hose water runs through the venturi and back into the tank to loosen sediment — with cleaner, if you’ve added it.
Flush valve closed, drain valve open. Water and loosened sediment run out the side outlet to your drain hose.
Switch back and forth until the water runs clear.
Design
The whole body is transparent, so you can watch the water go from cloudy to clear — and know when you’re done.
White ball valves with clear rubber seals switch between flushing and draining.
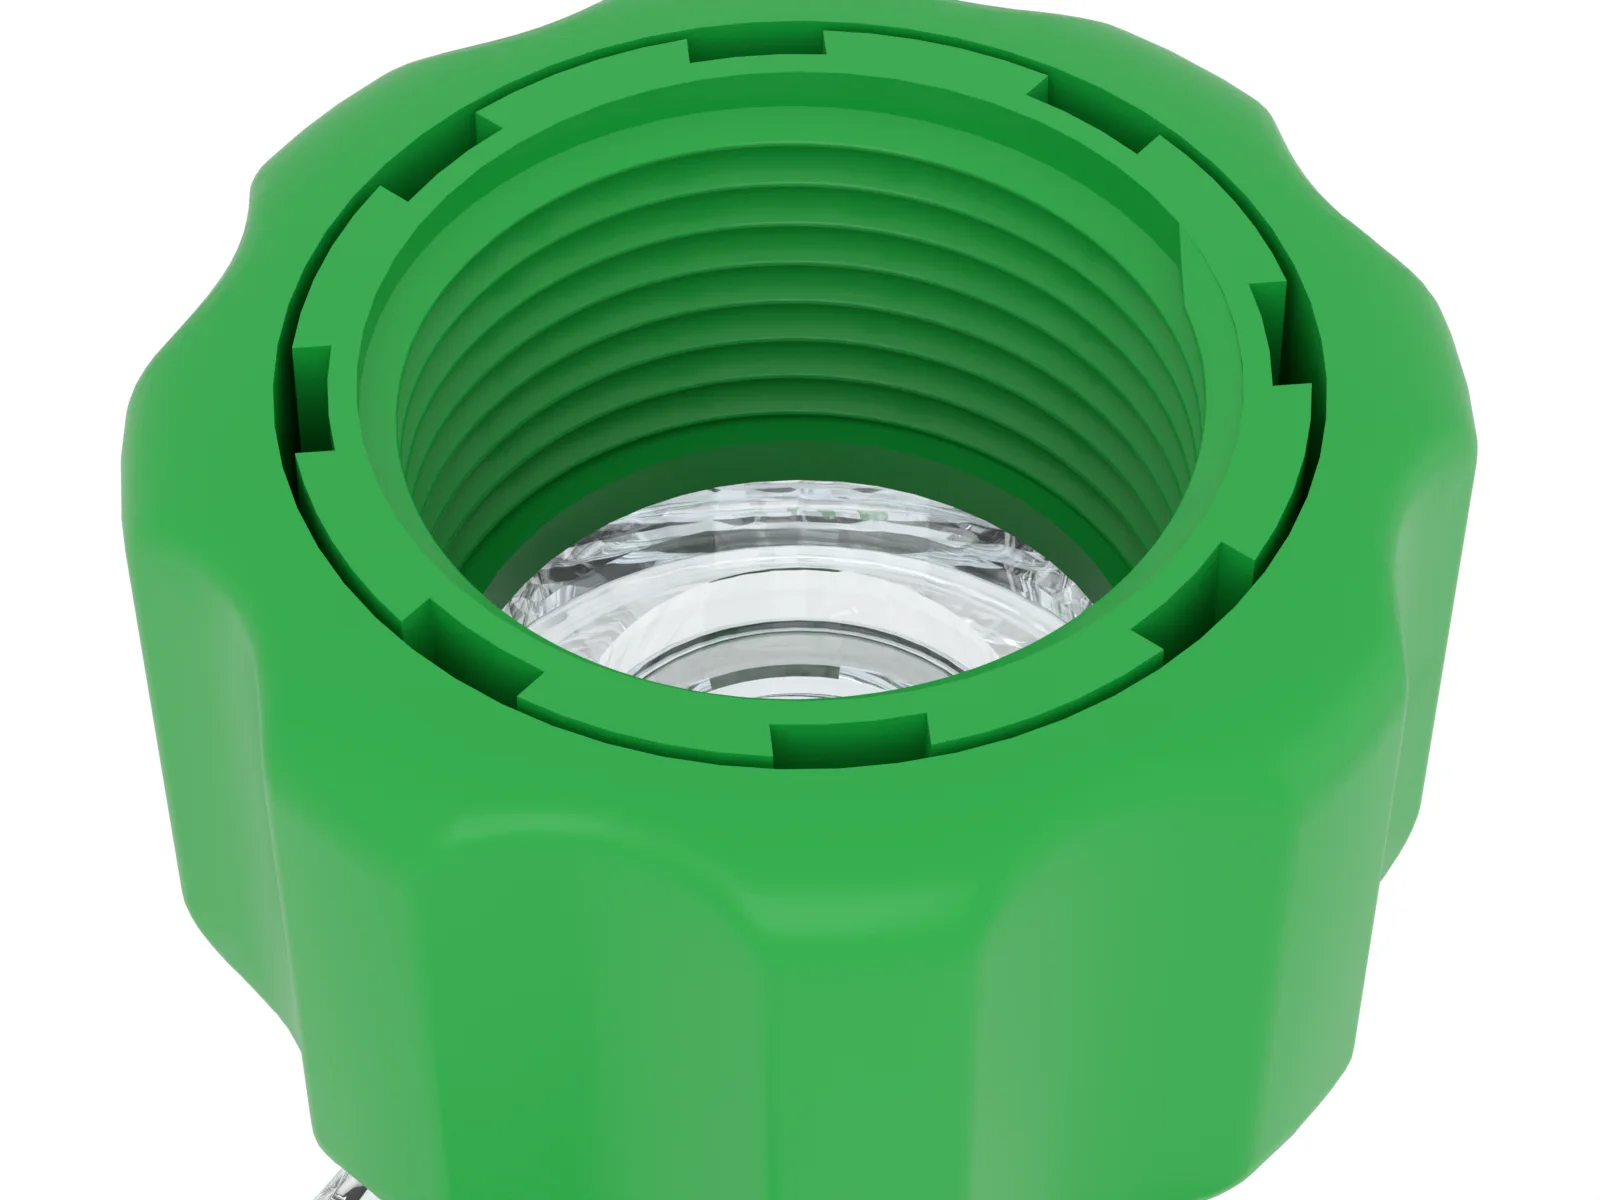
Spins onto the drain valve by hand. No wrench.
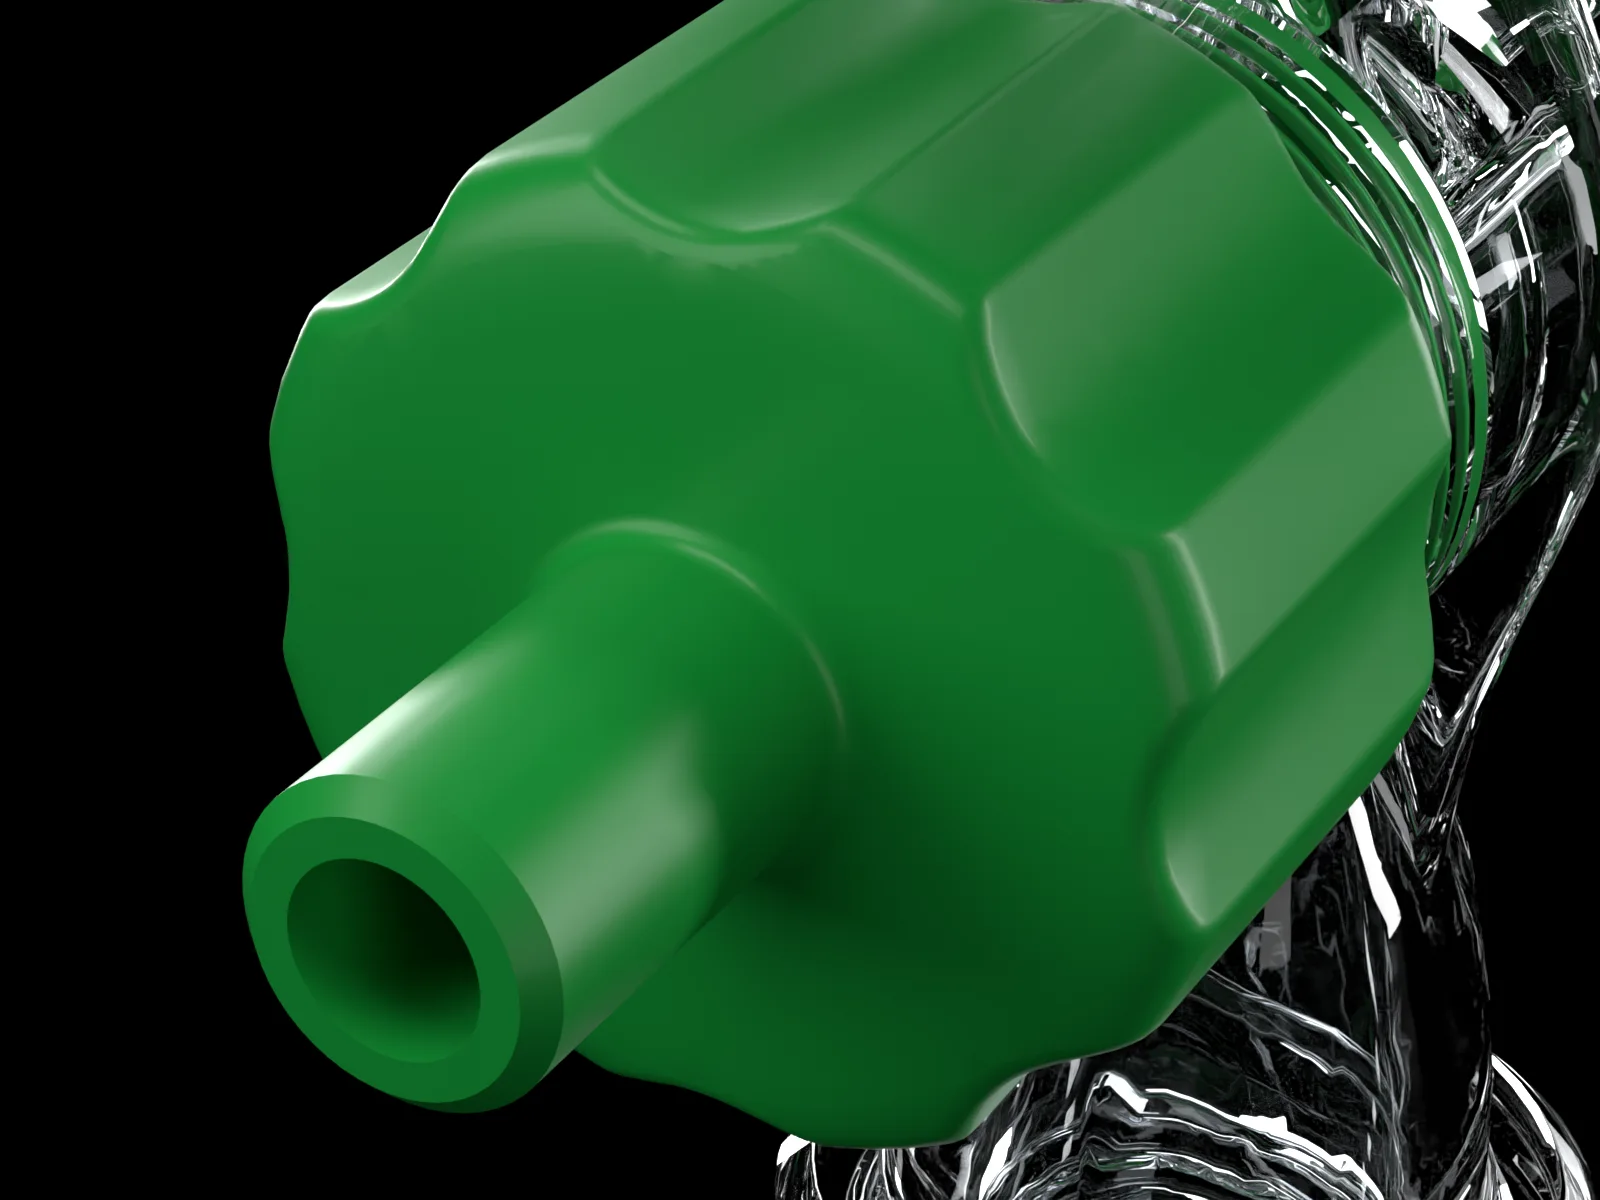
A 10 mm barb with a check valve built in.
7 in.
End to end. Small enough for a drawer.
30
Precisely fitted parts. No motors, no batteries, nothing to charge.
Inside
Twenty seconds, start to finish.
How it works

Turn off the power or gas and let the water cool. Follow your water heater’s manual.
Spin the swivel nut onto the drain valve by hand. Attach your garden hose to the inlet and a drain hose to the outlet, then open the drain valve.
Open the flush valve to send a focused jet into the tank. To add cleaner, put the suction tube into a cleaning solution made for water heaters.
Switch to drain and let the sediment run out. Repeat until the water runs clear.
No. The kit runs on household water pressure through a garden hose.
Use a descaler or cleaner labeled for water heaters, at the strength its label recommends, and check your water heater’s manual first. Finish by flushing with clean water.
It’s made for tank-style water heaters with a drain valve that takes a garden hose.
Check your water heater’s manual. Rheem, for example, recommends once a year, and more often if you have hard water.1
The body is fully transparent. When the water running through it looks clear, you’re done.
It’s designed for tank water heaters. Tankless units are descaled differently — follow your manufacturer’s instructions.